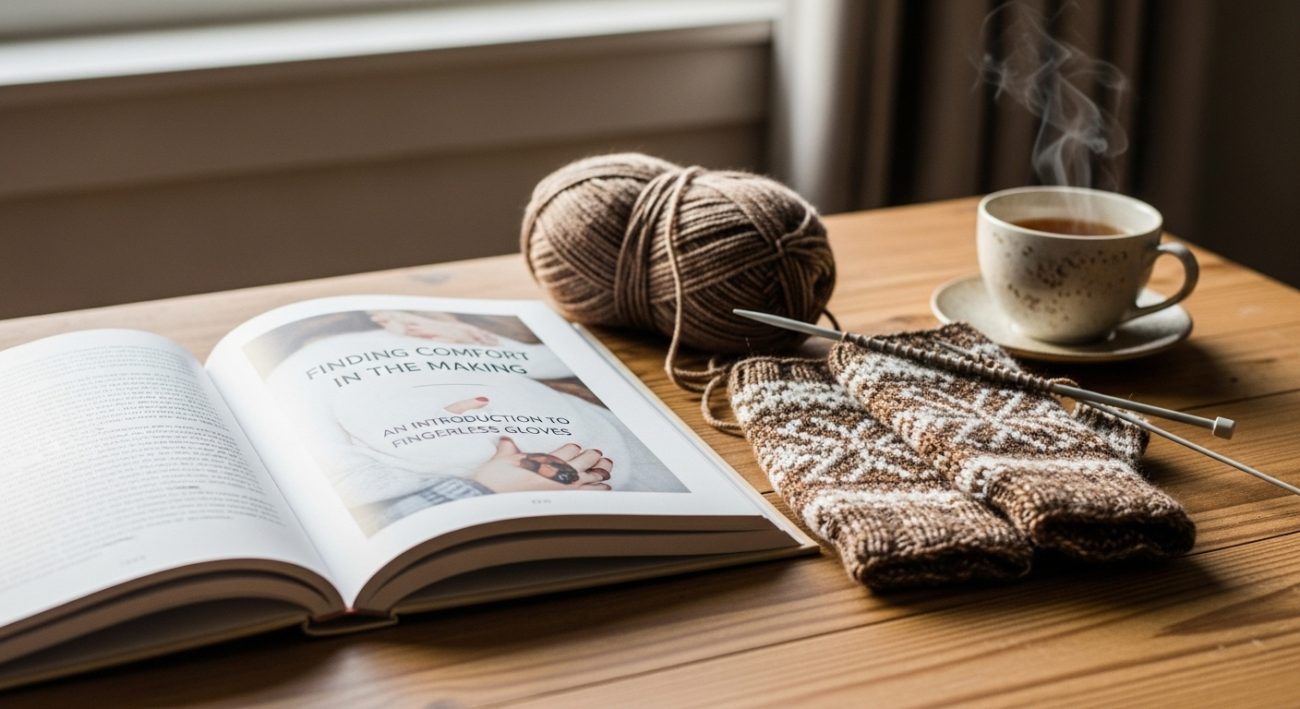
Finding Comfort in the Making: An Introduction to Fingerless Gloves
In the quiet rhythm of our days, there is a profound comfort to be found in creating something with our own hands. Knitting, in particular, offers a gentle, meditative practice—a way to slow down, stitch by stitch. And when the project is as practical and delightful as a pair of fingerless gloves, the satisfaction is twofold. They are more than just an accessory; they are a small, handmade hug for your wrists, a tool for maintaining dexterity while staying warm.
Whether you are a seasoned knitter looking for a quick, rewarding project or a beginner eager to build your skills, fingerless gloves are a perfect choice. They work up quickly, require only a small amount of yarn, and offer a wonderful canvas for learning new techniques without the commitment of a larger garment. So, find a comfortable spot, gather your yarn and needles, and let’s explore the serene joy of knitting your own fingerless gloves.

Before You Begin: A Few Calm Considerations
A successful knitting project begins not with the first cast-on, but with a moment of quiet preparation. Taking a little time to consider your materials and measurements will make the entire process smoother and more enjoyable.
First, consider your yarn. For fingerless gloves, a DK, sport, or worsted weight yarn is often ideal. These weights are substantial enough to provide warmth but not so bulky that the gloves become cumbersome. A soft wool, a wool blend, or even a cozy acrylic will serve you well. The choice is deeply personal; select a colour and texture that brings you a sense of calm and joy.
Next, your needle size will typically correspond to your yarn weight. Check the ball band of your yarn for a recommended needle size—this is an excellent starting point. You may also wish to knit a small gauge swatch. While it can feel like a delay, this simple step is a act of kindness to your future self, ensuring your finished gloves will fit perfectly.
Finally, take a gentle measurement of your hand. Measure around your palm at its widest point, excluding the thumb. This measurement will be your guide as you follow your chosen pattern.
A Simple Pattern for Serenity: The Basic Ribbed Glove
This pattern is designed for beginners, using simple knit and purl stitches to create a stretchy, comfortable ribbed fabric. We will be knitting flat, on straight needles, and seaming up the side—a wonderfully straightforward approach.
Materials You Will Need:
Approximately 150 yards of DK or Worsted weight yarn.
A set of double-pointed needles (DPNs) or a long circular needle for Magic Loop, in the size appropriate for your yarn (e.g., US 6 / 4.0mm).
A yarn needle.
A stitch marker.
Abbreviations:
K: Knit
P: Purl
St(s): Stitch(es)
K2tog: Knit two stitches together (a right-leaning decrease)
The Pattern (Make 2):
1. The Cuff:
Cast on 32 stitches. Join in the round, being careful not to twist your stitches. Place a marker to indicate the beginning of the round.
Work in a K2, P2 rib pattern for 2.5 inches (or about 6 cm). This creates a snug, elastic cuff that will hug your wrist.
2. The Hand:
Once your cuff is complete, you can continue in the rib pattern for the entire glove for a consistent look, or switch to stockinette stitch (knit every round) for a smoother fabric. Continue knitting even until the piece measures approximately 4.5 inches (or about 11.5 cm) from the cast-on edge.
3. Creating the Thumb Opening:
This is the only slightly tricky part, but we will approach it with patience.
Next Round: K16. These are the stitches for the top of your hand.
Now, you will create a small gap for the thumb. Cast on 4 stitches using the backward loop method. This feels a little strange, but it’s just creating a small bridge of new stitches.
Knit the remaining 16 stitches. You now have 36 stitches on your needles.
Continue knitting every round (or continuing your established pattern) until the glove measures about 1.5 inches (4 cm) from the base of the thumb gusset.
4. Shaping the Fingers:
We will now create a gentle slope for the fingers.
Decrease Round: K2tog, K6; repeat from * to * until the end of the round. You should have 32 stitches remaining.
Knit 2 rounds even.
Next Decrease Round: K2tog, K5; repeat from * to * until the end of the round. You should have 28 stitches remaining.
Knit 1 round even.
Continue decreasing in this manner every other round until you have 16 stitches remaining.
5. The Finishing Touches:
Bind off all stitches loosely. Weave in the ends with your yarn needle, closing up the small gap at the base of the thumb with a few careful stitches. Take a moment to smooth out your work and admire what you have created.
Exploring Further: Variations to Spark Your Creativity
Once you have mastered the basic glove, a world of possibilities opens up. The simple fingerless glove is a perfect canvas for experimentation.
Lace and Openwork: Incorporate simple yarn-over increases and decreases to create delicate lace patterns along the back of the hand. This adds a touch of elegance and is perfect for a lighter-weight yarn.
Cables: A twisting cable running up the center of the hand adds beautiful texture and warmth. It looks complex but is simply a matter of crossing a few stitches over one another.
Colorwork: Try stripes for a playful look, or venture into Fair Isle for intricate, multi-colored designs. Holding two colours at once can be a meditative practice in itself.
Different Constructions: After knitting flat, you might feel ready to try knitting in the round on double-pointed needles or using the Magic Loop method. This creates a seamless garment, which many find to be a very satisfying process.
A Stitch for the Soul
Knitting a pair of fingerless gloves is more than just following a pattern; it is an act of quiet mindfulness. It is the gentle click of needles, the soft flow of yarn through your fingers, and the gradual emergence of form from a single strand. In a world that often moves too fast, these small projects offer a pocket of peace.
They are a gift you can give to yourself—a tangible reminder of time spent in calm creation—or a deeply personal gift for someone you care about. So, as you bind off that final stitch and weave in the last end, remember that you haven’t just made an accessory. You have crafted a moment of tranquility, a piece of comfort, and a testament to the simple, enduring beauty of making. Happy knitting.