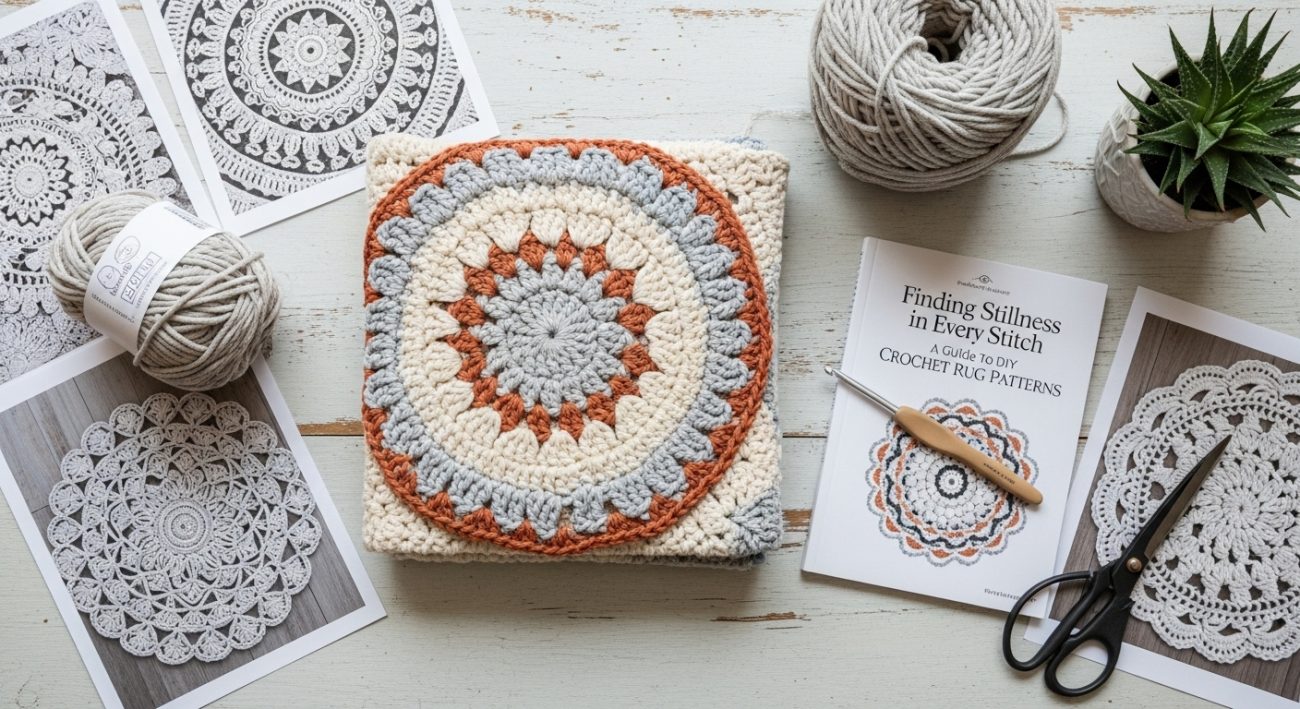
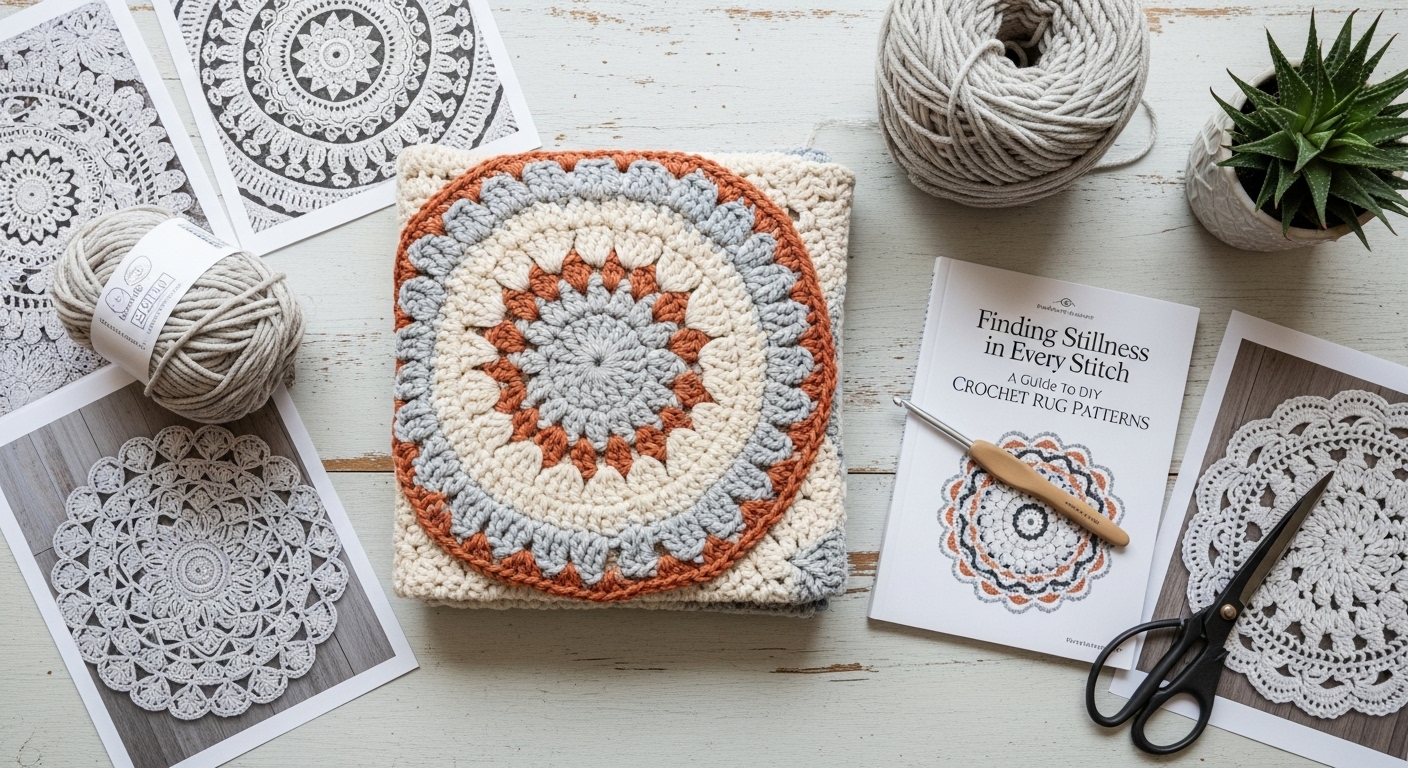
Finding Stillness in Every Stitch: A Guide to DIY Crochet Rug Patterns
In the gentle rhythm of a crochet hook moving through yarn, there is a unique form of quiet magic. It’s a practice that transforms simple strands into something solid, beautiful, and deeply personal. While we often think of crochet in terms of cozy blankets or wearable garments, there is a special satisfaction in creating something for your home—something that grounds a room, both literally and figuratively. Creating a crochet rug is a project that invites mindfulness, patience, and a tangible connection to your living space.
This guide is designed to walk you through the calming journey of making your own DIY crochet rug. We will move at a gentle pace, exploring the foundations, a few simple patterns, and the quiet considerations that will make your project a success. So, find a comfortable seat, gather your materials, and let’s begin this peaceful creation together.
Laying the Foundation: Yarn, Hooks, and Mindset
Before we dive into the patterns, let’s take a quiet moment to prepare. The right materials and mindset are the first stitches in any project.
Choosing Your Yarn:
For a rug, you need a yarn that is durable and can withstand foot traffic. Worsted weight or bulky yarn is an excellent choice. Cotton yarn, like Lily Sugar’n Cream or a similar cotton blend, is ideal because of its strength and lack of stretch. You could also explore t-shirt yarn (also known as “tarn”) or even braided fabric strips for a truly rustic, upcycled look. The texture and weight of your yarn will greatly influence the final feel of your rug, so choose something that brings you a sense of calm when you hold it.
Selecting Your Hook:
Your hook size should correspond with your yarn weight. For worsted weight cotton, a 5.5 mm (I-9) or 6.5 mm (K-10.5) hook is a good starting point. For bulkier yarns, you may need an 8 mm (L-11) or larger. Don’t be afraid to make a small swatch to see how the fabric feels. You want it to be dense enough to lie flat and support weight, but not so tight that it curls.
The Right Mindset:
A rug is a larger project. There is no need to rush. Approach it as a meditative practice, not a race to the finish line. Enjoy the feeling of the yarn in your hands, the repetitive motion of the stitches, and the slow, steady growth of your creation. This is your time to unwind and create.
A Simple Start: The Classic Round Rug
This pattern is a beautiful beginning. It works from the center out, creating a soft, spiraling mandala for your floor. It’s perfect for practicing increasing stitches in a consistent, soothing rhythm.
**Classic Round Rug Pattern** **Skill Level:** Beginner **Materials:** * Approximately 1000-1500 yards of worsted weight cotton yarn (amount varies with final size) * 6.5 mm (K-10.5) crochet hook * Scissors * Tapestry needle **Stitches Used:** * ch = chain * sc = single crochet * st(s) = stitch(es) **Instructions:** 1. **Magic Ring:** Start with a magic ring. If you prefer, you can chain 4 and join with a slip stitch to the first chain to form a ring. 2. **Round 1:** Ch 1 (does not count as a stitch). Work 6 sc into the ring. Join with a sl st to the first sc. (6 sts) 3. **Round 2:** Ch 1. Work 2 sc in each st around. Join with a sl st to the first sc. (12 sts) 4. **Round 3:** Ch 1. *Work 1 sc in the next st, 2 sc in the following st.* Repeat from * to * around. Join with a sl st. (18 sts) 5. **Round 4:** Ch 1. *Work 1 sc in each of the next 2 sts, 2 sc in the following st.* Repeat from * to * around. Join with a sl st. (24 sts) 6. **Continuing the Pattern:** You are increasing by 6 stitches every round. The formula is simple: each round, you will work one more "single crochet" before the increase than you did in the previous round. * Round 5: *1 sc in next 3 sts, 2 sc in next st.* Repeat. * Round 6: *1 sc in next 4 sts, 2 sc in next st.* Repeat. * And so on... Continue in this manner until your rug has reached the desired diameter. The repetitive nature of this pattern is its greatest gift, allowing your mind to rest as your hands work. **To Finish:** After your final round, cut the yarn, leaving a long tail. Weave in the end securely with your tapestry needle, working the tail through the backs of several stitches to ensure it will hold. Embracing Texture: The Waffle Stitch Rectangle
If you seek a rug with more tactile interest and a lovely, dense fabric, the waffle stitch is a wonderful choice. It creates a grid-like texture that is both visually appealing and wonderfully sturdy. This pattern works in rows, creating a rectangular rug perfect for a hallway or in front of a sink.
**Waffle Stitch Rug Pattern** **Skill Level:** Easy/Intermediate **Materials:** * Approximately 1200-1800 yards of bulky weight yarn or multiple strands of worsted weight held together * Hook size appropriate for your yarn (e.g., 8 mm / L-11 for bulky) * Scissors * Tapestry needle **Stitches Used:** * ch = chain * sc = single crochet * dc = double crochet * FPdc = Front Post double crochet **Special Note:** The waffle stitch pattern is a 3-row repeat. The signature "waffle" pockets are created by working FPdc around the dc from the previous row. **Instructions:** 1. **Foundation:** Chain a multiple of 3 + 2. For a nice hallway runner, try chaining 62. This will give you a starting width of approximately 20 inches, depending on your tension. 2. **Row 1:** Dc in the 4th ch from hook and in each ch across. Turn. (Count your chains carefully to maintain the multiple of 3) 3. **Row 2:** Ch 1, sc in the first st. *Work FPdc around the next 2 dc, sc in the next dc.* Repeat from * to * across, ending with a sc in the top of the turning ch. Turn. 4. **Row 3:** Ch 3 (counts as first dc), dc in the first st. *Sc in the next FPdc, but work it into the base of the stitch from two rows below (this creates the pocket). Dc in the next 2 sts (the sc and the following FPdc).* Repeat from * to * across, ending with a dc in the last sc. Turn. 5. **Row 4:** Ch 1, sc in the first st. *Work FPdc around the next 2 dc, sc in the next dc (again, working into the base of the stitch from two rows below).* Repeat from * to * across, ending with a sc in the top of the turning ch. Turn. **Repeating the Pattern:** You have now completed the core sequence. Simply repeat Rows 3 and 4 until your rug reaches the desired length. The texture will quickly emerge, and the rhythm of post stitches and front post stitches is deeply satisfying. **To Finish:** When your final row is complete, cut the yarn, leaving a long tail. Weave in all ends securely. Quiet Considerations for a Lasting Creation
As your rug grows, so will your connection to it. Here are a few gentle reminders to ensure it becomes a lasting part of your home.
Blocking: Once your rug is complete, you may wish to block it. Dampen it lightly and pin it to a flat surface (like a carpet or a large blocking mat) in the shape you want it to hold. Allow it to dry completely. This helps to even out any slight irregularities and gives it a professional finish.
Non-Slip Backing: For safety, especially on hardwood or tile floors, consider adding a non-slip rug pad underneath your finished crochet rug. This will prevent it from sliding and will also add a layer of cushioning and protection, helping your handiwork last for years to come.
Embrace Imperfections: Your handmade rug is a record of your time and energy. A slightly wavy edge or a subtle change in tension is not a flaw; it is a signature of the maker. It is what makes your rug uniquely and beautifully yours.
Creating a crochet rug is more than a craft project; it is an act of weaving intention into your home. With every loop and pull, you are building not just a functional object, but a sanctuary of your own making. So, take a deep breath, pick up your hook, and enjoy the profound peace that comes from creating something beautiful, one slow stitch at a time.