
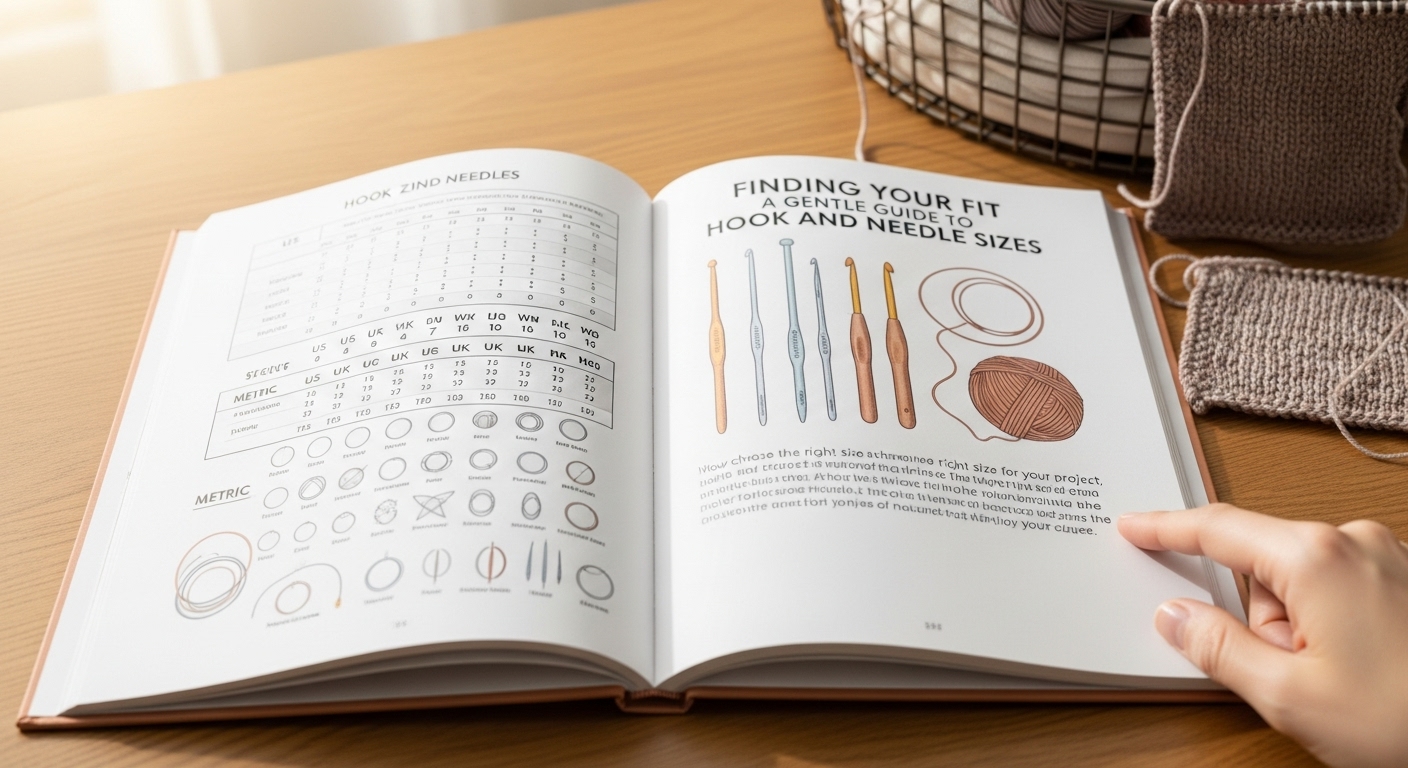
Finding Your Fit: A Gentle Guide to Hook and Needle Sizes
In the rhythmic, soothing world of yarn crafts, few questions are as fundamental—or as initially perplexing—as the choice of hook or needle size. That array of numbers and letters on a pattern can feel like a secret code, leaving you to wonder if your project’s success hinges on a single millimeter. Breathe easy. While size is important, it is not an unyielding rule, but rather a key to unlocking the fabric you wish to create.
This guide is designed to walk you through the process with a calm and mindful approach. We will explore why size matters, how to read the clues on your yarn label, and when it’s perfectly acceptable to trust your own instincts. Let’s untangle this topic together, stitch by gentle stitch.
Why Size Matters: The Foundation of Your Fabric
Think of your hook or needle as the architect of your fabric. Its primary job is to determine the size of each loop of yarn, which in turn dictates the entire character of your finished piece. The relationship is beautifully simple, yet profoundly important.
A larger hook or needle creates larger loops. This results in a fabric with more drape, more openness, and a looser feel. It’s perfect for lightweight shawls, airy market bags, and cozy, quick-to-make blankets. Conversely, a smaller hook or needle creates smaller, tighter loops. This gives you a denser, sturdier, and more structured fabric. You would use a smaller size for items that need to hold their shape, like amigurumi, sturdy baskets, or the soles of slippers.
The goal is to find a harmonious balance between your tool and your yarn, creating a fabric that is both beautiful and functional for its intended purpose.
Your First and Best Guide: The Yarn Label
Before you even look at a pattern, your most trusted advisor is already in your hands: the yarn label. This little piece of paper holds a wealth of information, clearly laid out to set you up for success. In the sea of icons and numbers, look for the square or rectangular symbol that looks like a little knitting needle or crochet hook.
This symbol will recommend a specific needle or hook size for that particular yarn. For example, it might show a picture of a knitting needle with “5 mm” or a crochet hook with “H/8 (5.00 mm).” This is the manufacturer’s suggestion for achieving a balanced, medium-weight fabric—what is known as “gauge.”
The yarn label is a starting point born of extensive testing. It’s the perfect place to begin your relationship with a new skein. Trust its guidance, especially when you are just starting out.
The Role of Gauge: When Precision is Key
Now we come to the concept that often causes the most anxiety: gauge. In its simplest terms, gauge is a measure of your stitch density. It tells you how many stitches and how many rows fit within a specific measurement, usually a 4-inch by 4-inch (10cm x 10cm) square.
Why is this so crucial? Because everyone’s tension is unique. You might crochet or knit a little tighter than your friend, while they might work a little more loosely. These subtle differences can add up over an entire project. If a sweater pattern is designed for a specific gauge and your personal gauge is tighter, your finished sweater will be smaller than intended.
This is why, for wearables like sweaters, socks, and hats, where fit is everything, making a gauge swatch is non-negotiable. It is not a waste of time; it is the most important step to ensure your hours of work result in a piece you will love and wear.
A Calm Approach to Making a Gauge Swatch
The idea of a gauge swatch can feel tedious, but reframe it as a quiet, mindful practice before the main event.
- Using the yarn and the hook or needle size recommended by the pattern, work a square that is slightly larger than 4×4 inches. For knitting, stockinette stitch is common for gauge; for crochet, it’s often the primary stitch used in the pattern (e.g., double crochet or single crochet).
- Lay your swatch flat on a table. Without stretching it, place a ruler horizontally and count how many stitches fit within 4 inches. Do the same vertically for the rows.
- Compare your count to the pattern’s gauge.
If you have more stitches per 4 inches than the pattern, your tension is tighter. Try making another swatch with a hook or needle that is one size larger.
If you have fewer stitches per 4 inches than the pattern, your tension is looser. Try another swatch with a tool one size smaller.
Repeat this process until your stitch and row count match the pattern’s gauge. This simple act of calibration is the secret to perfectly fitting handmade garments.
When to Trust Your Instincts: The Art of the Project
While gauge is vital for wearables, it’s important to remember that not all projects require such precision. This is where you can breathe, relax, and let your creative intuition guide you.
For home decor items like blankets, pillows, or baskets, a slightly tighter or looser gauge is often a matter of preference. Do you want a heavy, weighty blanket or a light, drapey one? Your hook or needle size is your tool to achieve that feel.
When creating lace shawls or scarves, you might intentionally use a hook or needle several sizes larger than the yarn label suggests to create that beautiful, open, web-like fabric. Conversely, for amigurumi, a hook that is one or two sizes smaller than recommended is standard practice to create a tight fabric that keeps the stuffing securely inside.
In these scenarios, the “right” size is the one that creates the fabric you envision.
Navigating Different Sizing Systems
The world of hooks and needles comes with a historical legacy of different labeling systems, which can be confusing. You’ll encounter:
Metric (mm): The most straightforward system. The number refers to the millimeter diameter of the hook or needle. A 5.0 mm hook is 5 millimeters wide. This is the most universal standard.
US (Letters for crochet, Numbers for knitting): This is an alphanumeric system where a “G” hook is roughly 4.0 mm, and an “H” is 5.0 mm. US knitting needle sizes use numbers like 6, 8, or 10, which do not correspond to millimeters.
UK (Numbers): Old UK sizing for knitting needles is the reverse of what you might expect—a smaller number (like 10) is a larger needle.
Always, always default to the millimeter (mm) measurement. This is the only consistent, unambiguous measurement across all brands and countries. If your pattern gives a US letter or number, use a conversion chart to find its mm equivalent to ensure you have the correct size.
Embracing the Journey
Choosing the right hook or needle size is a beautiful blend of science and art. It begins with the practical guidance of a yarn label, leans on the precision of a gauge swatch for fitted items, and opens up into a world of creative expression for decorative pieces.
Don’t be afraid to experiment. Keep a journal of your swatches, noting the yarn, hook or needle size, and the resulting fabric. Over time, you will develop an intuition for it. You’ll be able to feel a yarn and have a good sense of what size tool will make it sing.
So pick up your yarn, select a size with gentle intention, and cast on or make your first chain. This is not a test, but a journey—one where every stitch is an opportunity to learn, create, and find calm in the making.