
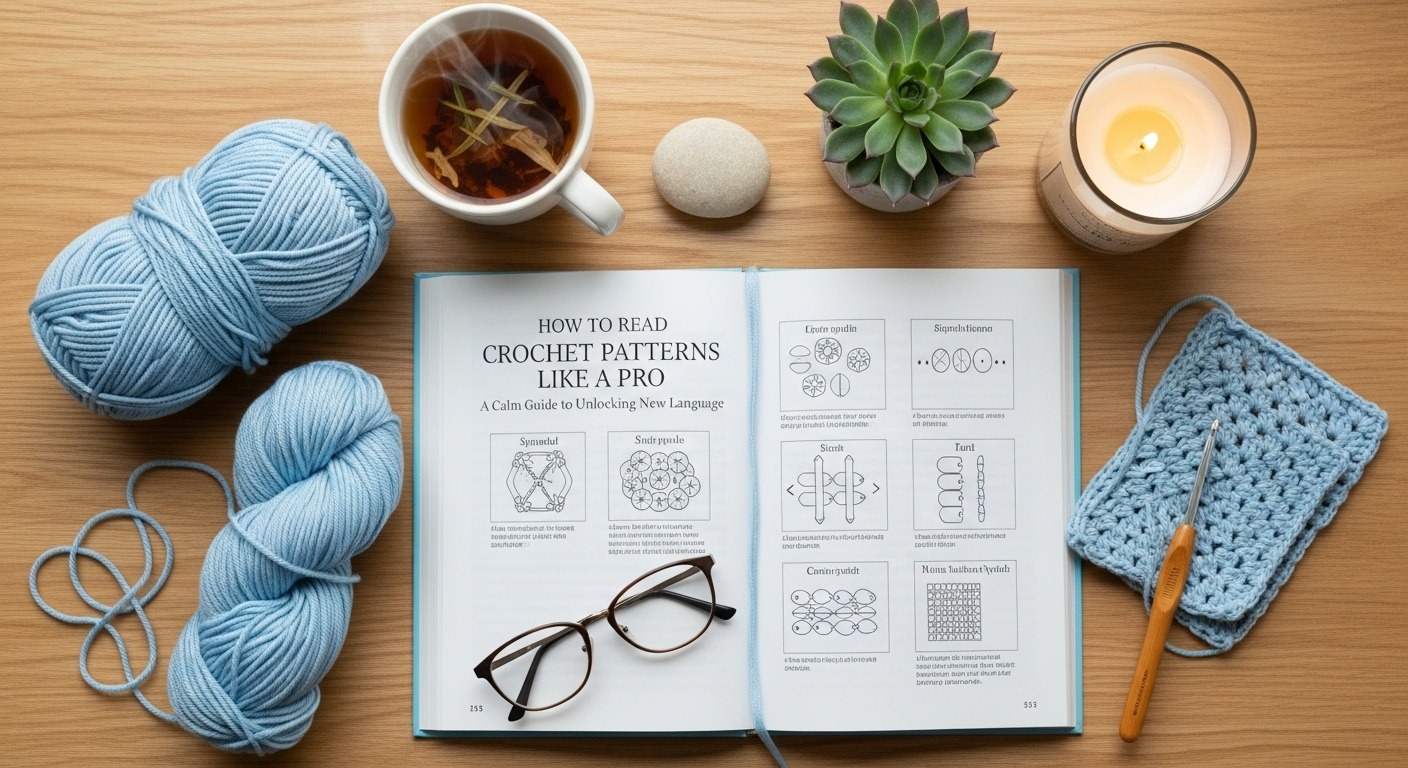
How to Read Crochet Patterns Like a Pro: A Calm Guide to Unlocking a New Language
There is a unique kind of magic in crochet. With a simple hook and a single strand of yarn, you can create anything from a delicate lace shawl to a cozy, textured blanket. But for many, the gateway to these creations—the crochet pattern—can feel like an insurmountable wall. The abbreviations, the symbols, the cryptic phrasing… it can be enough to make you set down your hook in frustration.
Please, take a deep breath. Reading a crochet pattern is not a test of your worth as a crafter; it is simply learning a new, very logical language. With a little patience and a systematic approach, you can move from confusion to clarity. This guide is designed to walk you through that process calmly and confidently, so you can read any pattern like a seasoned pro.
Before You Make Your First Stitch: The Foundation of Understanding
The most common mistake is to jump directly to the first row of instructions. A professional crocheter knows that the true key to success lies in the preliminary sections of the pattern. Treat this as your quiet preparation time, your moment to gather all the information you need.
First, read the entire pattern through, from start to finish. Don’t worry about understanding every single term yet. The goal is to familiarize yourself with the pattern’s structure, its rhythm, and its components. Notice how it’s broken down into sections like “Materials,” “Gauge,” and “Instructions.”
Next, decode the abbreviations. Crochet patterns use a standardized set of abbreviations to save space. A key is almost always provided. Take a moment to read through it. You’ll see things like:
- ch = chain
- sc = single crochet
- dc = double crochet
- sl st = slip stitch
- rep = repeat
- inc = increase (work 2 stitches into one)
- dec = decrease (combine two stitches into one)
Seeing these in the key is one thing; understanding them in context is another. Which leads us to our next point.
Deciphering the Language: Brackets, Asterisks, and Parentheses
Pattern writers use punctuation as a form of shorthand to give you complex instructions in a compact form. Learning this syntax is perhaps the most transformative step in reading patterns fluently.
- Asterisks (*): The asterisk is your signal to repeat. For example, “*sc in next 3 sts, ch 1; rep from * 4 times” means you will work the sequence (single crochet in the next 3 stitches, chain 1) a total of five times—the first time, plus four more repetitions.
- Parentheses ( ): These are used in two primary ways. They can group a set of actions that are all to be worked into the same stitch, like “(sc, dc, sc) in next st.” They are also used to clarify repetitions, such as “rep (sc in next 2 sts, dec) 3 times.”
- Brackets [ ]: Brackets often enclose a set of instructions that are to be repeated a specific number of times. You might see them used for large pattern repeats, especially in lace or complex stitch work. They function similarly to parentheses but help visually separate nested instructions.
Don’t be intimidated by a long row of text filled with these symbols. Break it down. Read it slowly, one segment at a time. It’s not a race.
The Non-Negotiable Step: Understanding Gauge
It is tempting, especially for beginners, to skip the gauge swatch. We understand the eagerness to start the actual project. However, if there is one habit that separates amateurs from professionals, it is this: always, always make a gauge swatch.
Gauge is simply the number of stitches and rows you have per inch (or per 4 inches/10 cm) using a specific hook and yarn. Why does it matter so much?
- Size: If your gauge is tighter than the pattern’s (more stitches per inch), your finished item will be smaller. If it’s looser (fewer stitches per inch), it will be larger. This is critical for wearables like sweaters and hats.
- Yardage: An incorrect gauge means you might run out of yarn or have a significant amount left over.
- Drape and Texture: The designer intended the fabric to have a certain feel and flow. The correct gauge ensures you achieve that.
To check your gauge, crochet a swatch that is larger than the measurement given (a 6×6 inch swatch for a 4×4 inch gauge is ideal). Wash and block it as you plan to with the finished item, then measure. If you have too many stitches, try a larger hook. Too few? Try a smaller hook. This small investment of time saves you from the heartache of a finished project that doesn’t fit.
Walking Through a Sample Pattern Row
Let’s take a hypothetical but common pattern row and break it down together.
Row 5: Ch 2 (does not count as a st), *dc in next st, ch 1, skip next st; rep from * to last st, dc in last st. Turn.
Ch 2: You begin by making two chain stitches. The pattern kindly tells you that this “does not count as a st,” so you will not be working into it later. It’s likely a turning chain to achieve the right height for the double crochets.
The asterisk is your starting point for the repeat.
dc in next st: Work one double crochet into the very first stitch of the row.
ch 1: Make one chain stitch.
skip next st: The chain-1 created a small gap. You will now skip the next stitch entirely and not work into it.
*rep from : Go back to the asterisk and repeat the sequence (dc, ch 1, skip) across the row.
to last st: This is your stopping point. When you have only one stitch remaining in the row, cease the repetition.
dc in last st: Work one final double crochet into that last stitch.
Turn: Prepare to work the next row.
See how a line that once looked like gibberish now has a clear, logical sequence? This is the process. Step by step, instruction by instruction.
Embracing a Calm and Patient Mindset
Finally, the most professional tool in your crochet kit is not a specific hook, but your mindset.
Use Stitch Markers Liberally: They are your best friends. Use them to mark the beginning of a round, the location of a complex stitch, or the start of a pattern repeat.
Count Your Stitches: Get into the habit of counting your stitches at the end of every row or round. It’s much easier to fix a mistake in the last row than ten rows back.
Read Your Work: Learn to “see” the stitches in your fabric. Identifying the top loops of a previous row’s stitches will help you understand where to insert your hook and confirm you’re on track.
It’s Okay to Pause: If you feel yourself getting frustrated or tired, put it down. A calm, focused session is far more productive and enjoyable than a frantic one.
Reading crochet patterns is a skill, and like any skill, it deepens with practice. Start with simple patterns and gradually challenge yourself with more complex ones. Each project will build your confidence and fluency. So, find a quiet corner, pick up your hook and your pattern, and breathe. You have all the tools you need to translate those beautiful symbols into something you can hold in your hands. Happy crocheting.